
How to build a shelf to hide the washer and dryer components.
This easy DIY shelf will hide the ugly washer and dryer components, but also
gives you plenty of additional storage for laundry needs.
This washer and dryer shelf was something I was really missing in our
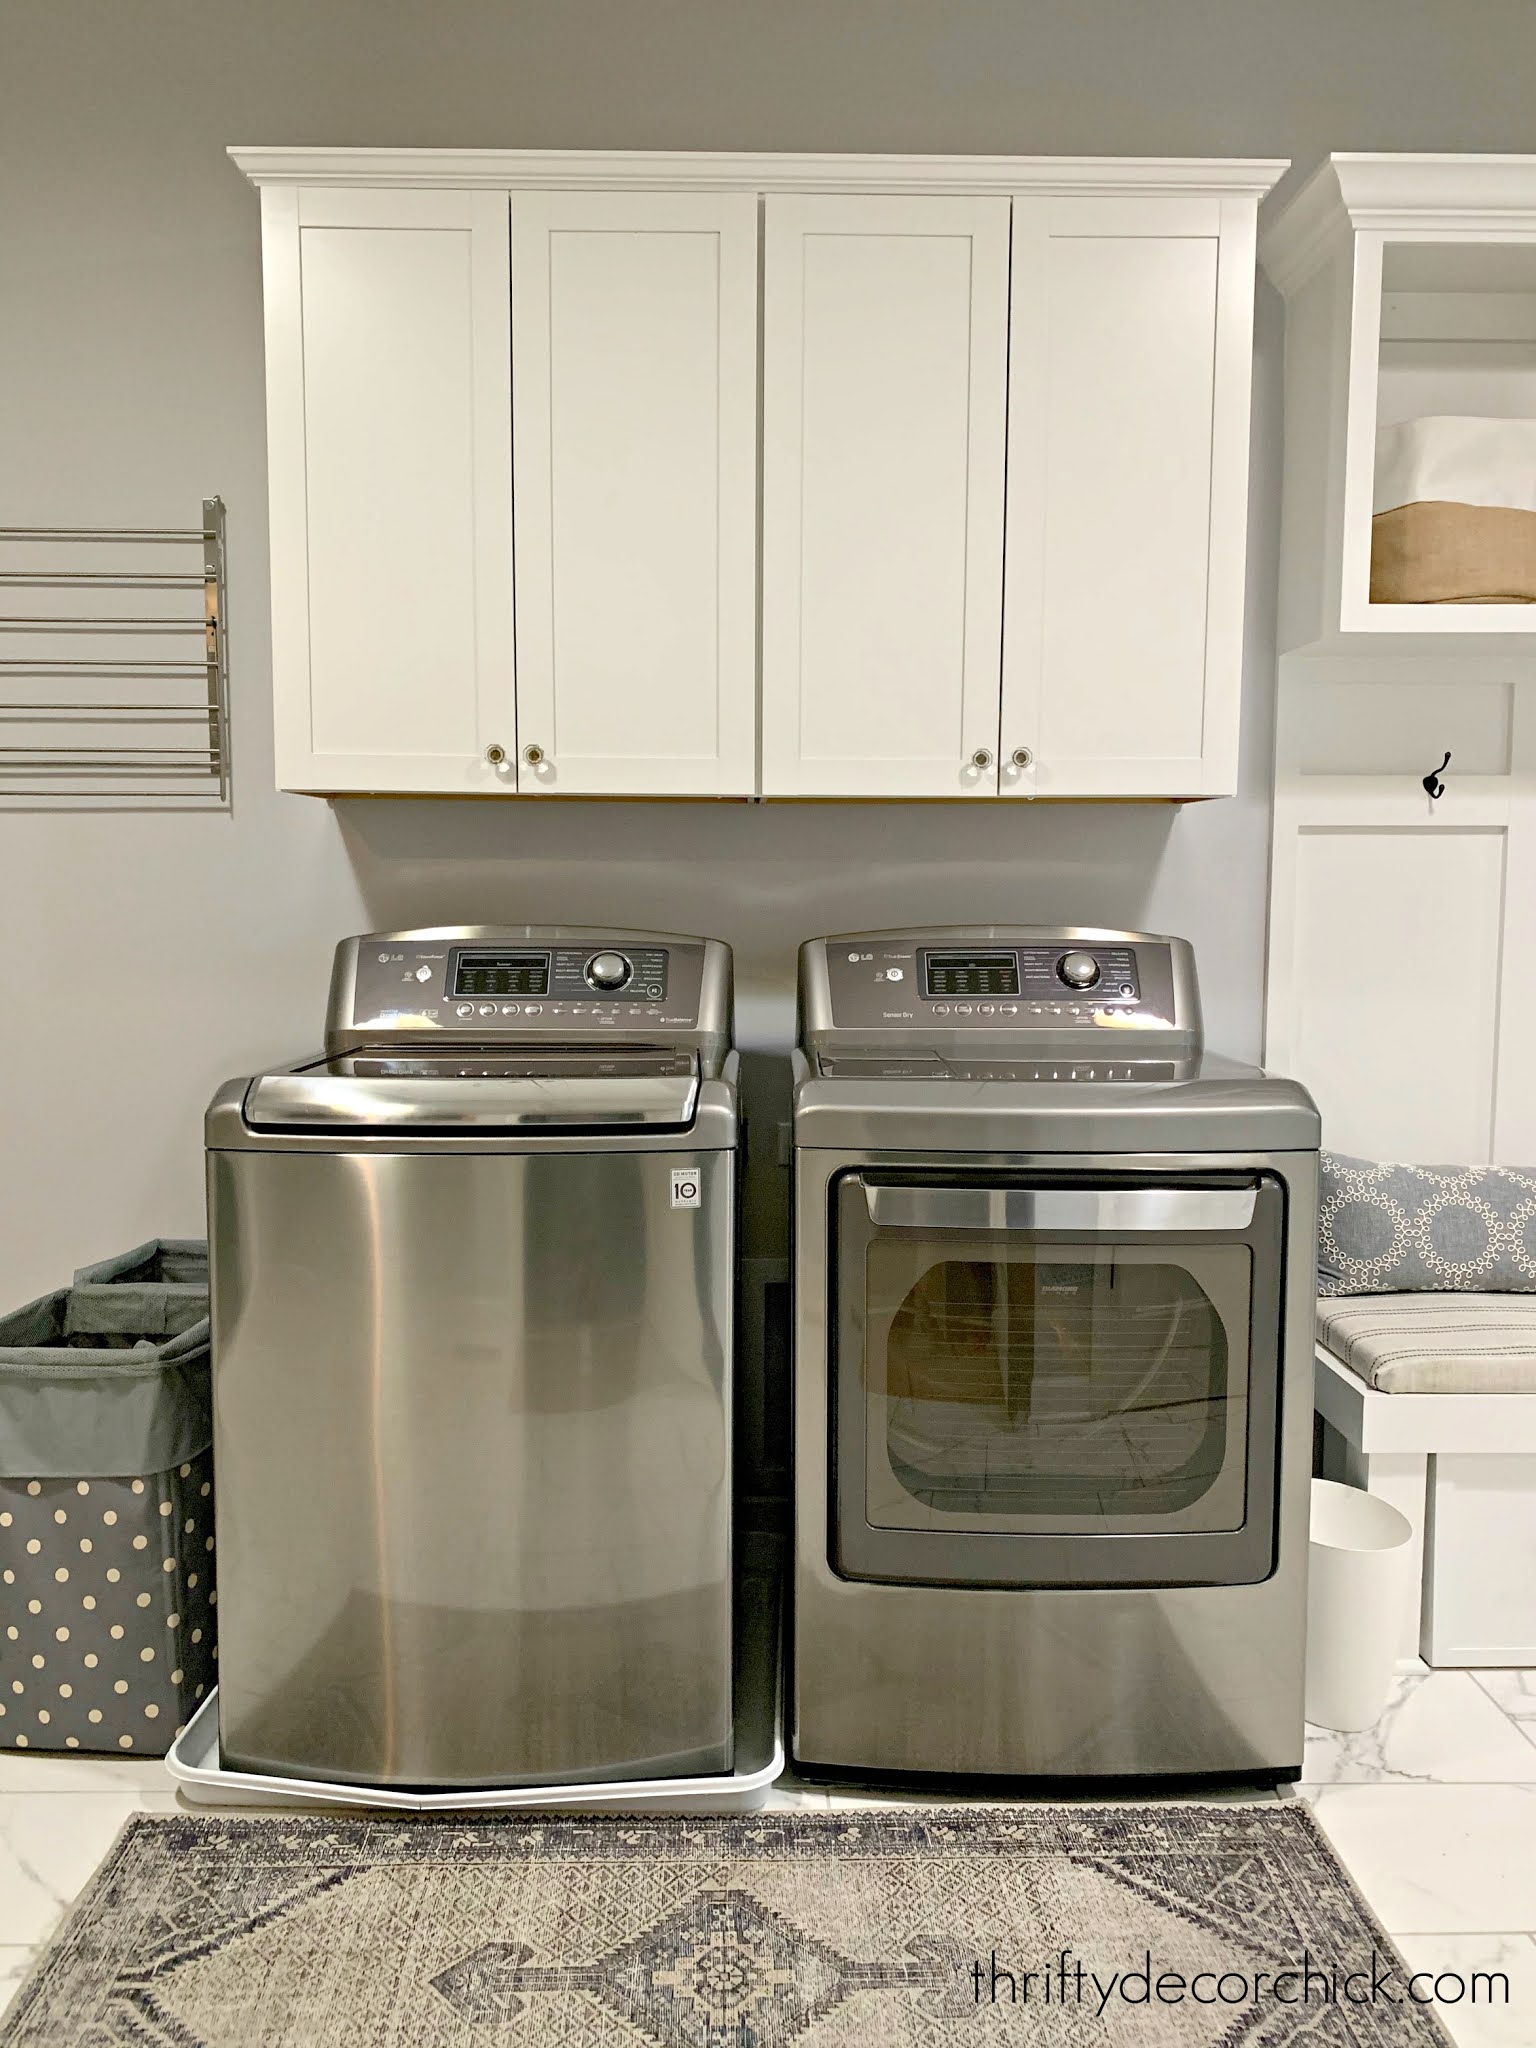
current laundry area. As a reminder, this is what we had when we moved
in:

Not bad at all! But the cabinets were hung at a height that were better
suited for front loaders — there was no room underneath to put a shelf, but
it was difficult to reach over the washer and dryer and access the
cabinets.
small leaks. It was cracked so we ended up removing it. (I now use
a Govee water sensor
next to the washer.)
another wall in here,
with drawer cabinets underneath. This was a great decision, it made the flow of the room work so much
better.

This post may contain affiliate links for
your convenience.
I may earn a small commission when you make a purchase through links.
It gave us better access to things we reach for most.
I built this one a little differently so I could add some more storage
space. I started by figuring out the middle spot between the two machines. I
hung a piece of scrap wood and drilled it into studs:

This acts as a support for the bottom shelf — I like to add a little extra
security wherever I can!
Then I placed some supports at the sides as well — I used these to secure
my vertical boards (nailed into the side of the supports) as I was
building:

(Ignore that white scrap on the right, it was just leaning there.) The
inside boards were purely for support at the beginning, but I’m keeping them
there so the vertical pieces won’t move around. You can’t really see these
when you’re done.
You can also build this shelf elsewhere and then bring it in and install.
I prefer to build it in place so there are no issues with fit and
size.
I suggest cutting away your baseboards so the side supports can go flush
against the wall. The wood was 3/4 inch, so I cut the baseboards
accordingly:

(the first piece I installed) and the side supports. I nailed it with my
nail gun first:

used a Kreg jig
to make pocket holes underneath.)
You can also use wood glue and then screw into the sides to support that
shelf. Just be sure to use a drill bit to make a hole for the screw to go
into first — this will help prevent the wood from splitting. You’ll also
want to make sure you can cover the head of any screws with putty or
trim.
The top piece went on last and I mitered the ends so you don’t see any
rough edges on the side or top of the shelves:

The whole thing was super secure, except for in the middle of the top
shelf.
It was bowing a bit with heavier items, so I added a support in the middle
that created two sections:

I used common pine for this project — the cheapest I could find! I was
planning to paint instead of staining.
match the counters
we put in here. I didn’t want to mess with trying to find a stain
match.
The mud room bench unit right next to it is a bright white, so I went with
that:

I caulked everything, then gave it a few coats of semi-gloss white paint. I
ended up adding a simple MDF trim to the front to cover the irregular edges
of the wood boards, but it’s not needed!
It turned out SO great! It’s perfect!:

I’ll share links to all the items on the shelves below.
really cute. 😉 I lucked out and found
those cute baskets
that fit perfectly on the bottom shelf.
I just love it!:

And here’s how it looked after the wallpaper was added to this wall:


Here’s where we started:
And how it looks after the whole makeover:

The shelf instead of cabinets (we couldn’t reach) functions so
much better for us! I also love how this unit hides the ugly stuff behind
the washer and dryer.
Here are sources for the items pictured:
Runner is from At Home