
My walk-in closet island build is coming along very nicely! I got almost everything finished on the box of the dresser yesterday, which means I have just a little bit to finish up today, and then I can get started on the drawers, drawer fronts, and cabinet doors.
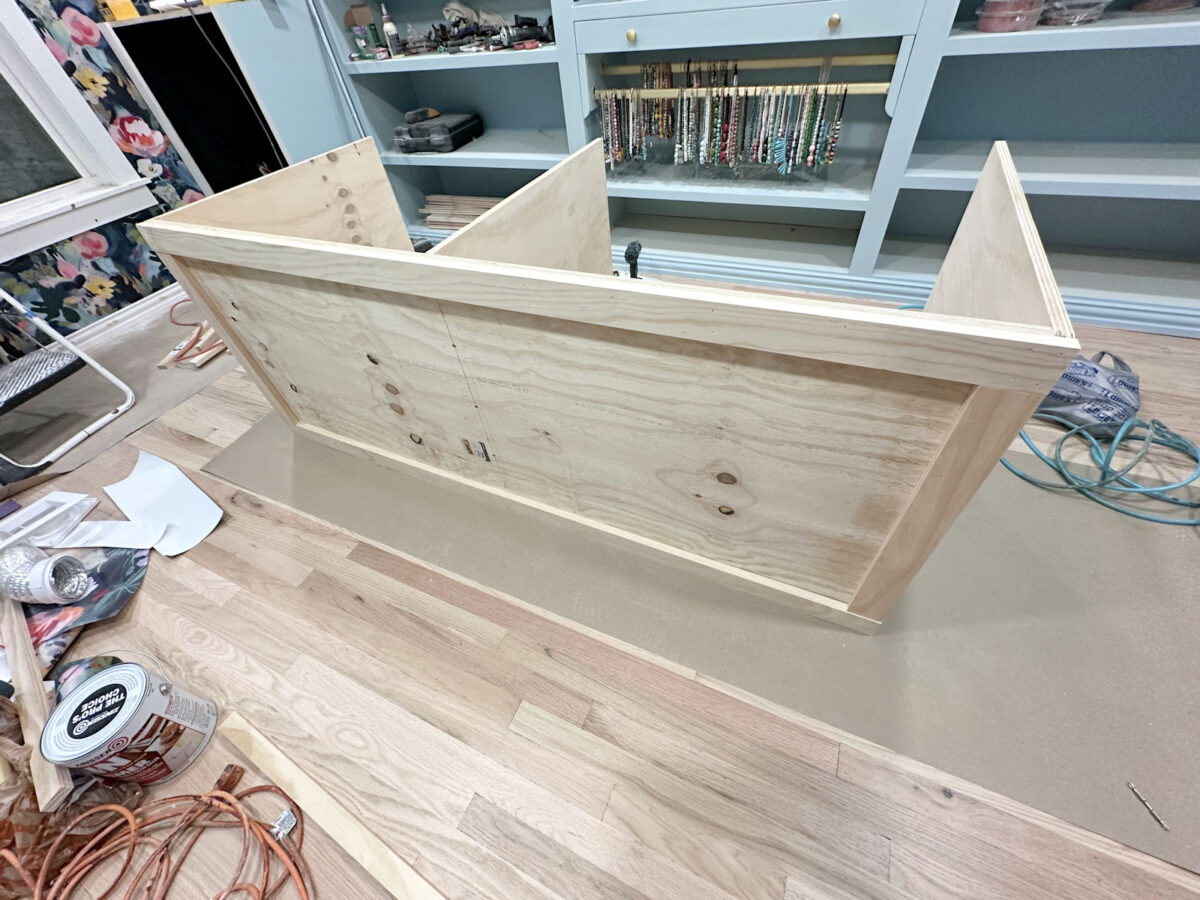
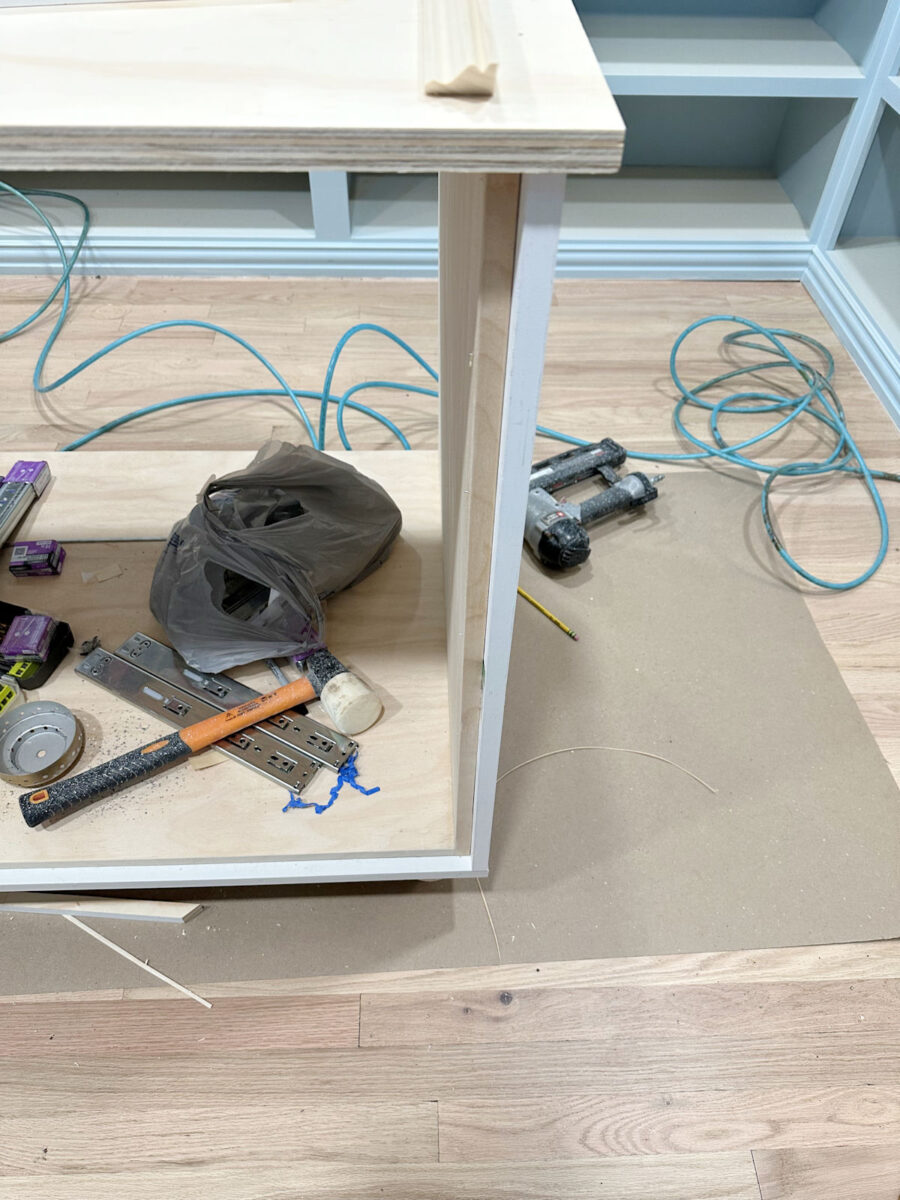
At the end of that post, I hadn’t gotten very far on the island. It looked like this…
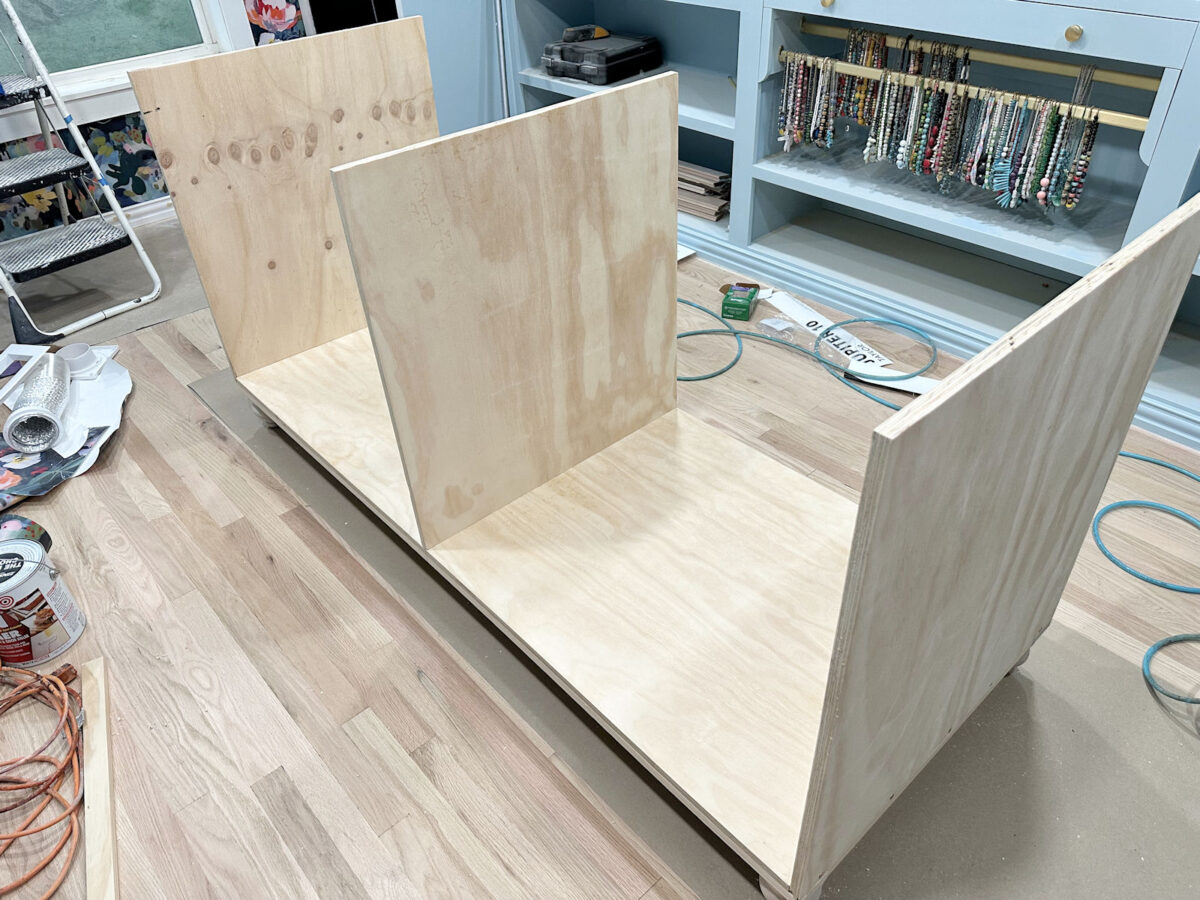
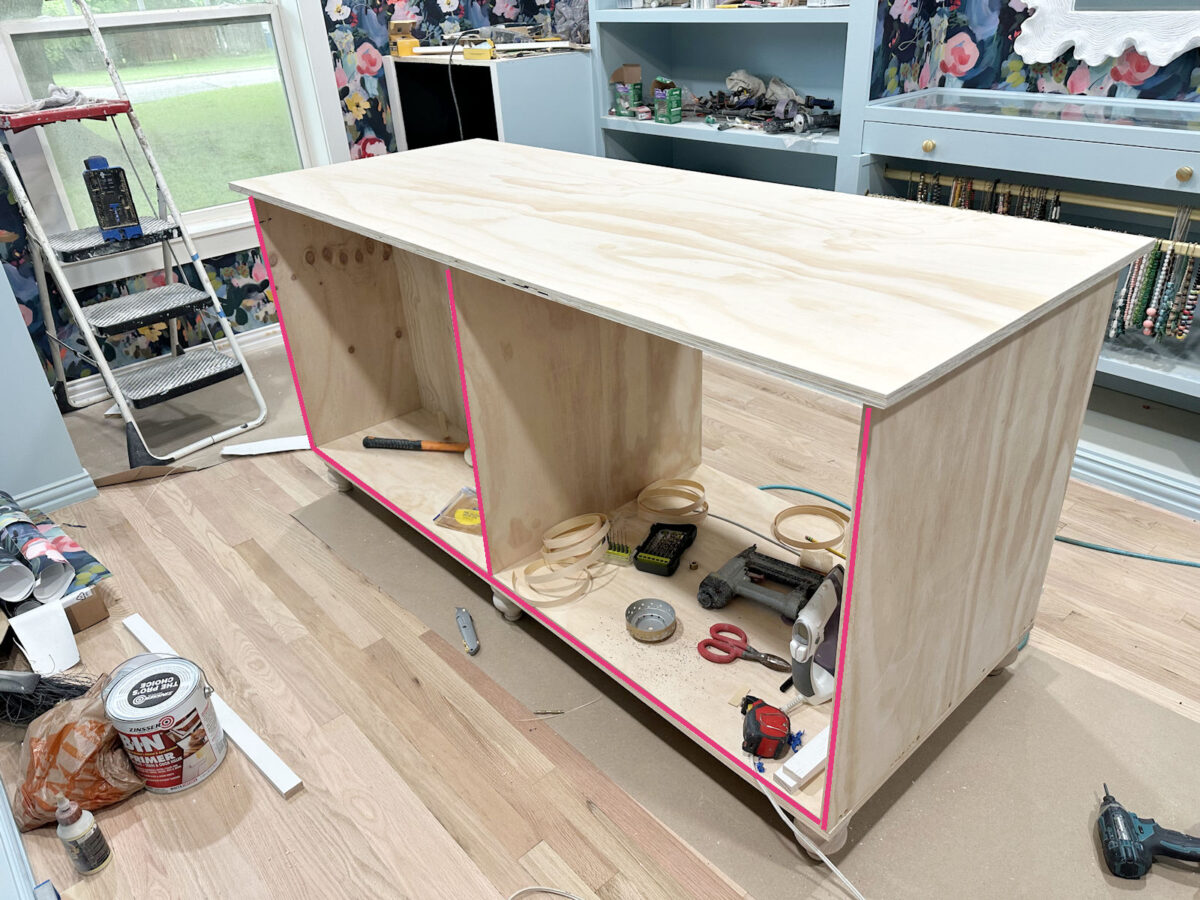
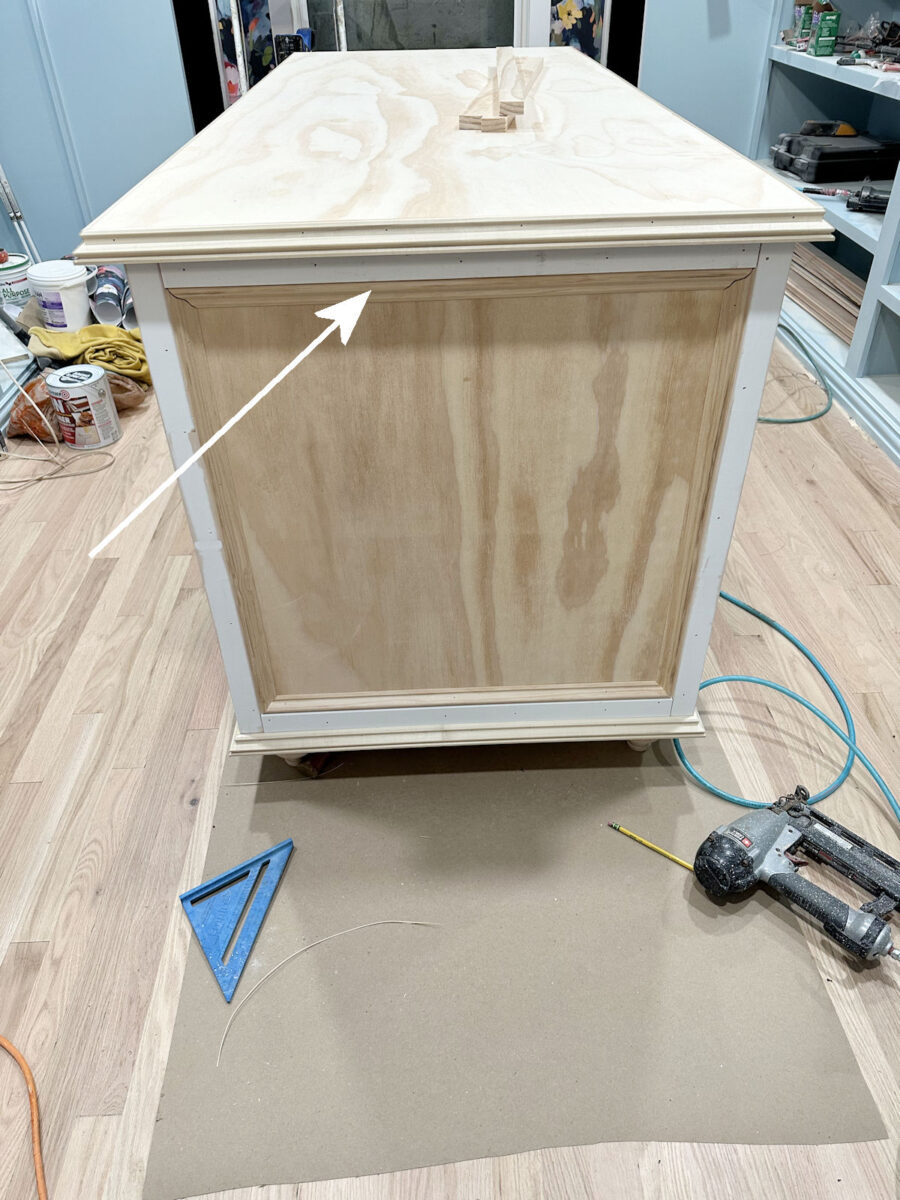
It was kind of hard to tell that it was an island at that point. But at the end of the day yesterday, it looked a whole lot more like an island. This is what it looks like now…
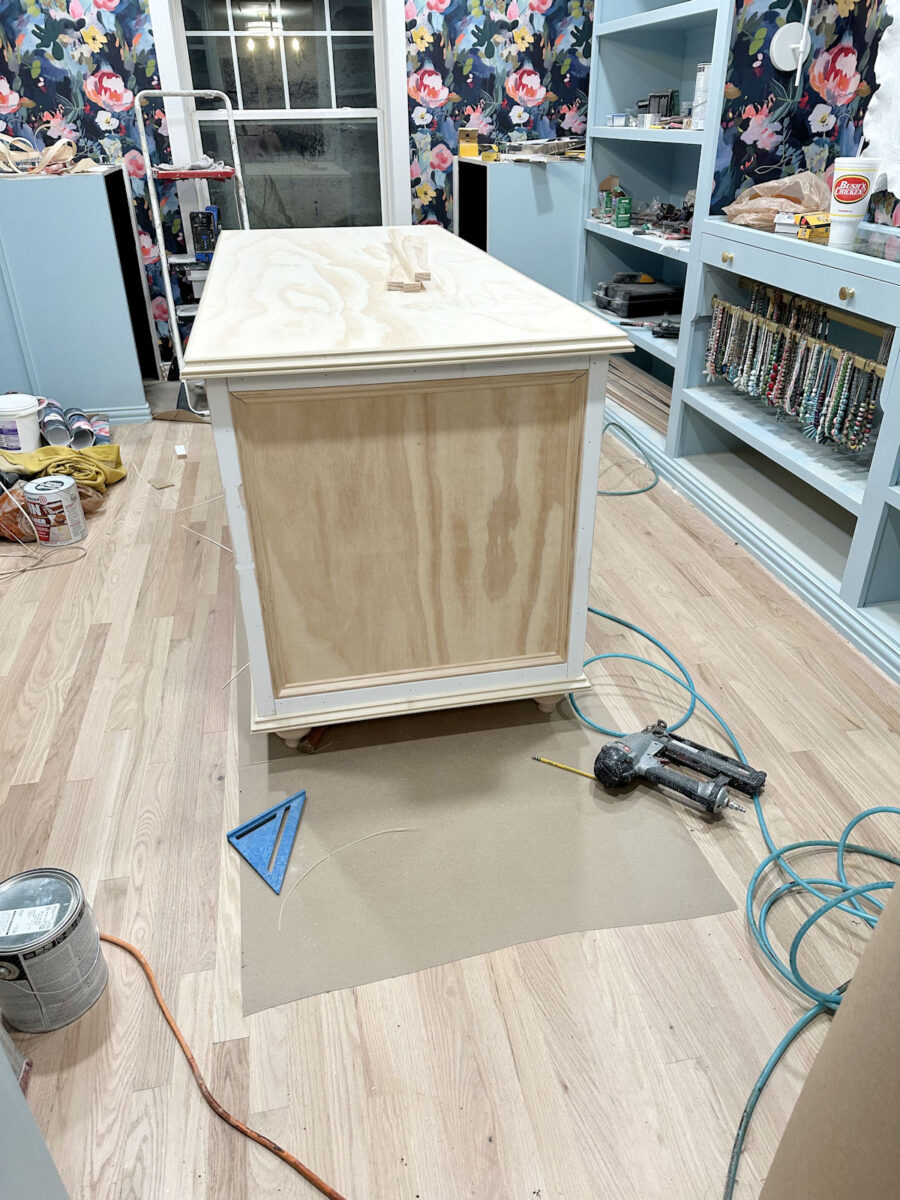
So let me show you the steps it took to get from that very basic form that I left off with last time to what it looks like now.
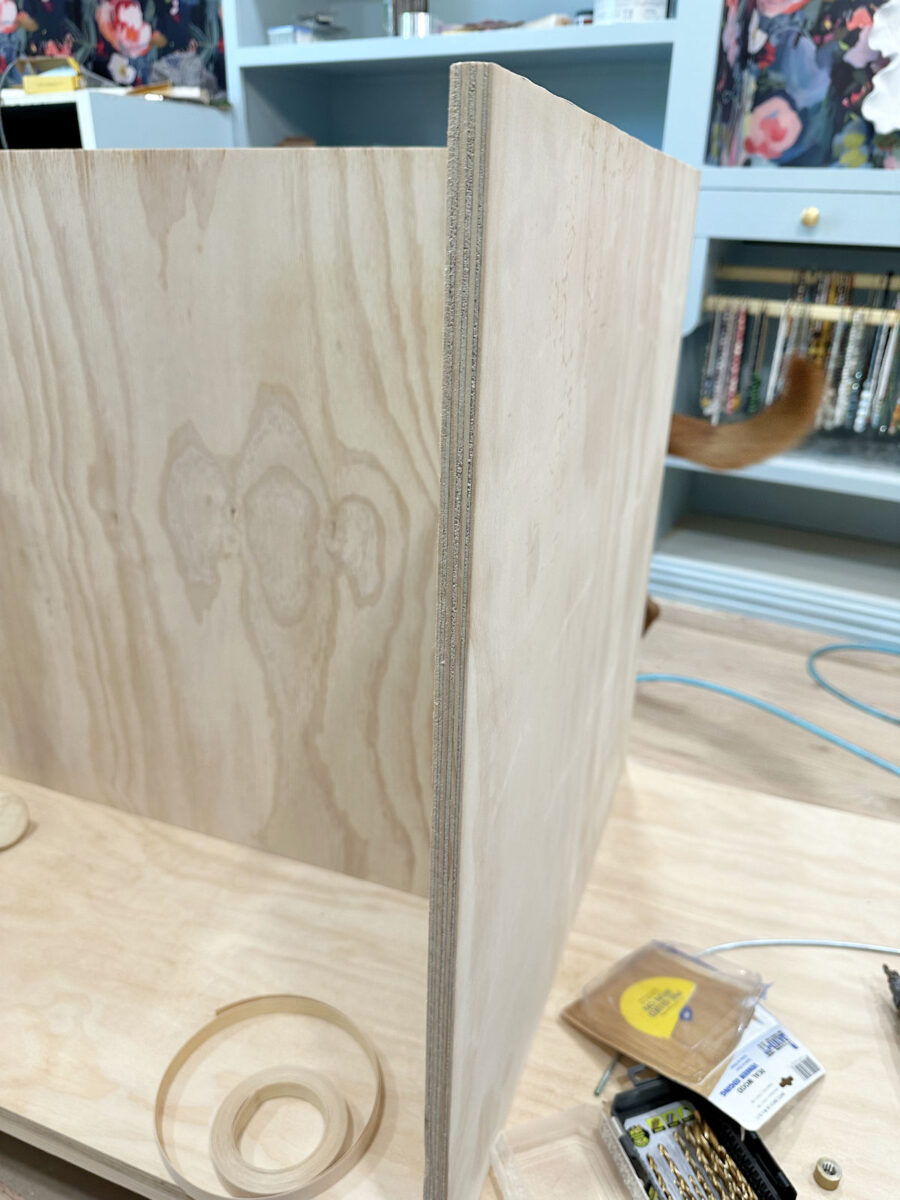
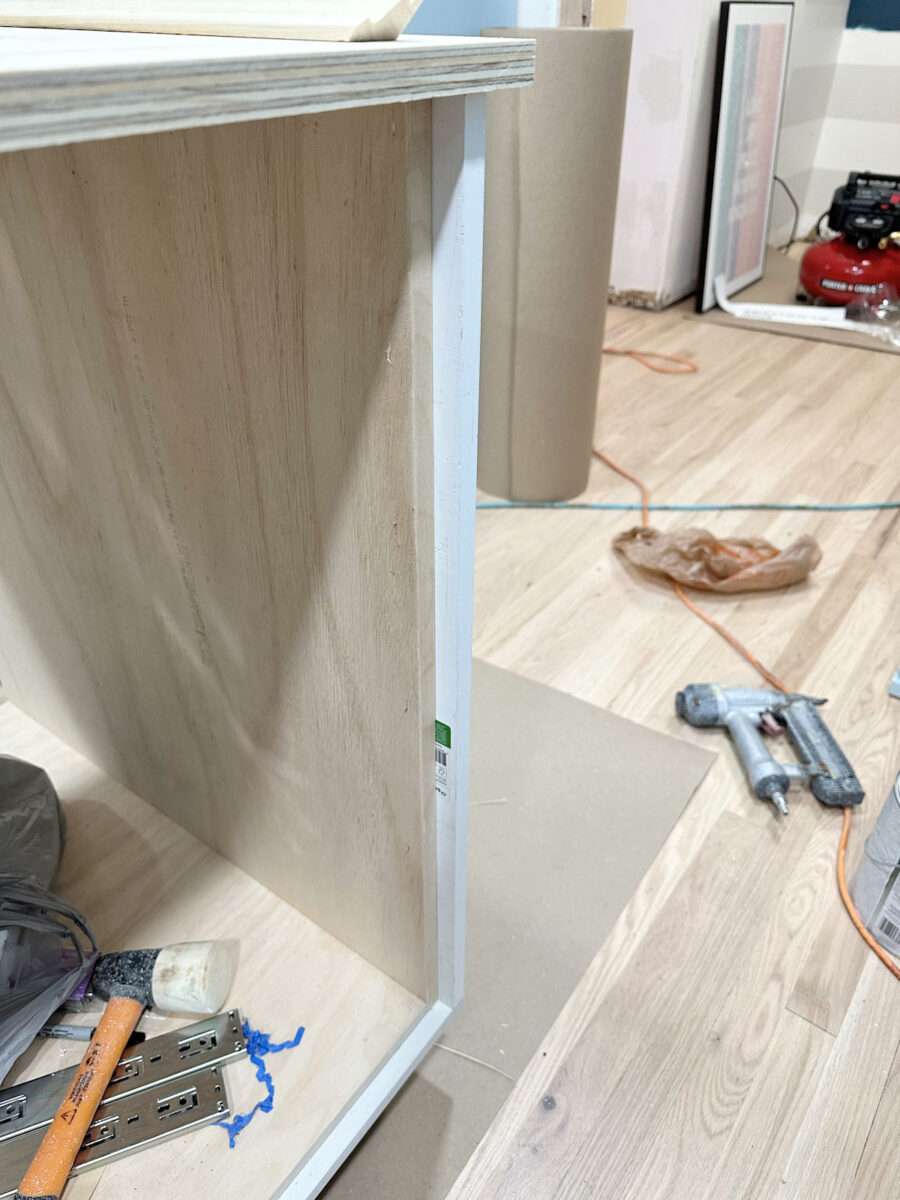
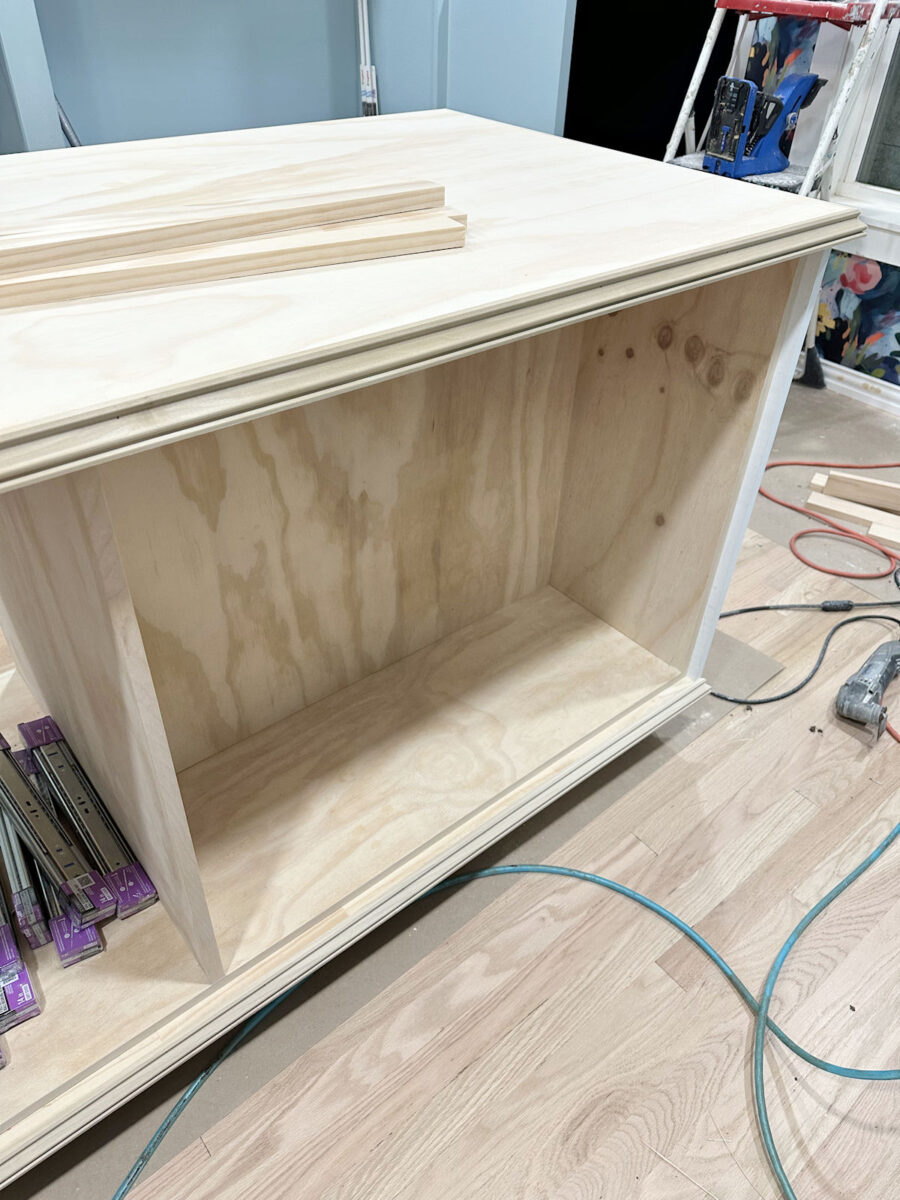
First, I had to cut and attach a piece of plywood to separate one of the sections into a front and back section. Since one section will have drawers on the front and back, it doesn’t need a separator. But the other section will have drawers on one side and cabinet doors on the other side, so that cabinet side needs a back. To attach that separator piece of plywood, I measured and marked a vertical line in the middle of the center plywood piece…
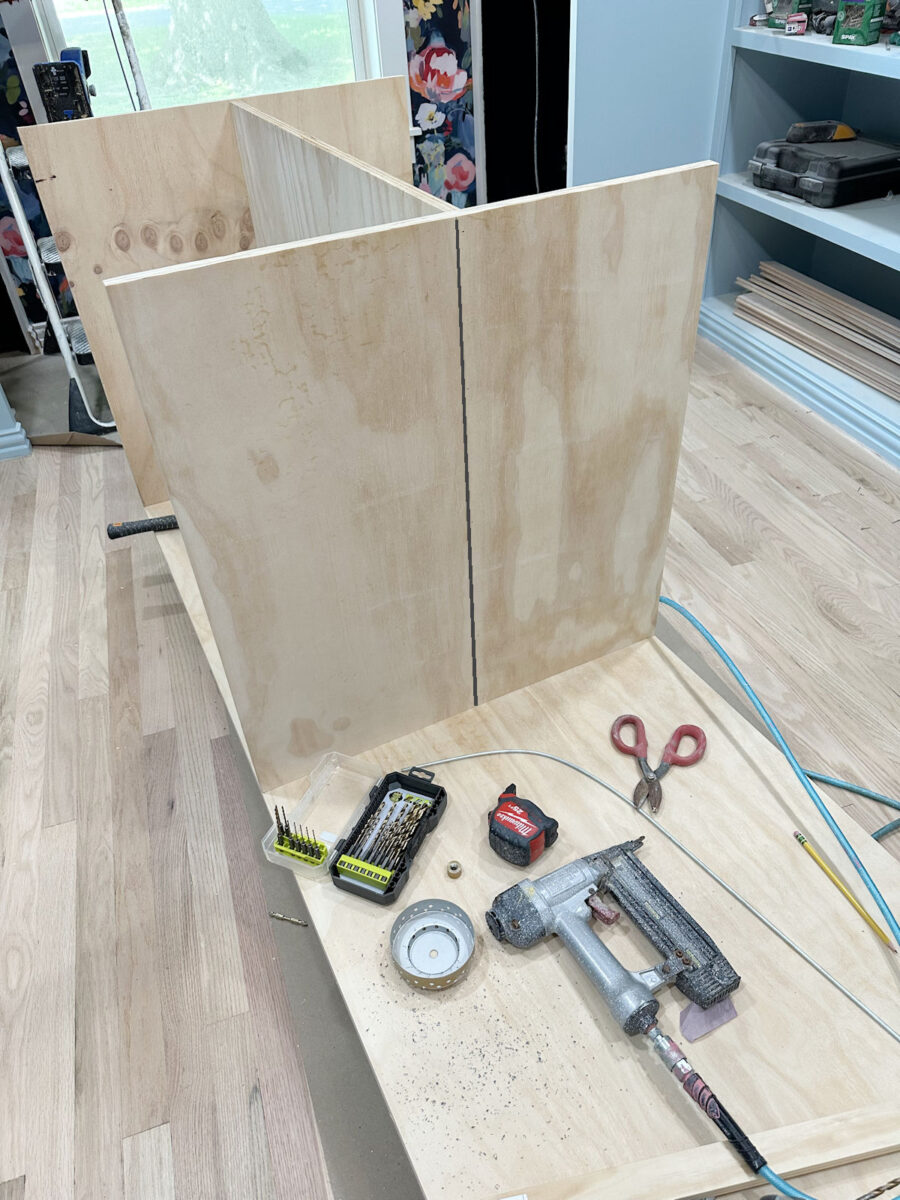
And then I measured and marked that same line on the outside piece of plywood. And I used those lines to line up the separator piece of plywood and nail it into place. I just nailed right through the outside of the plywood and into the edge of the separator piece. I used small 18-gauge nails, so those holes will be very easy to hide with wood filler.

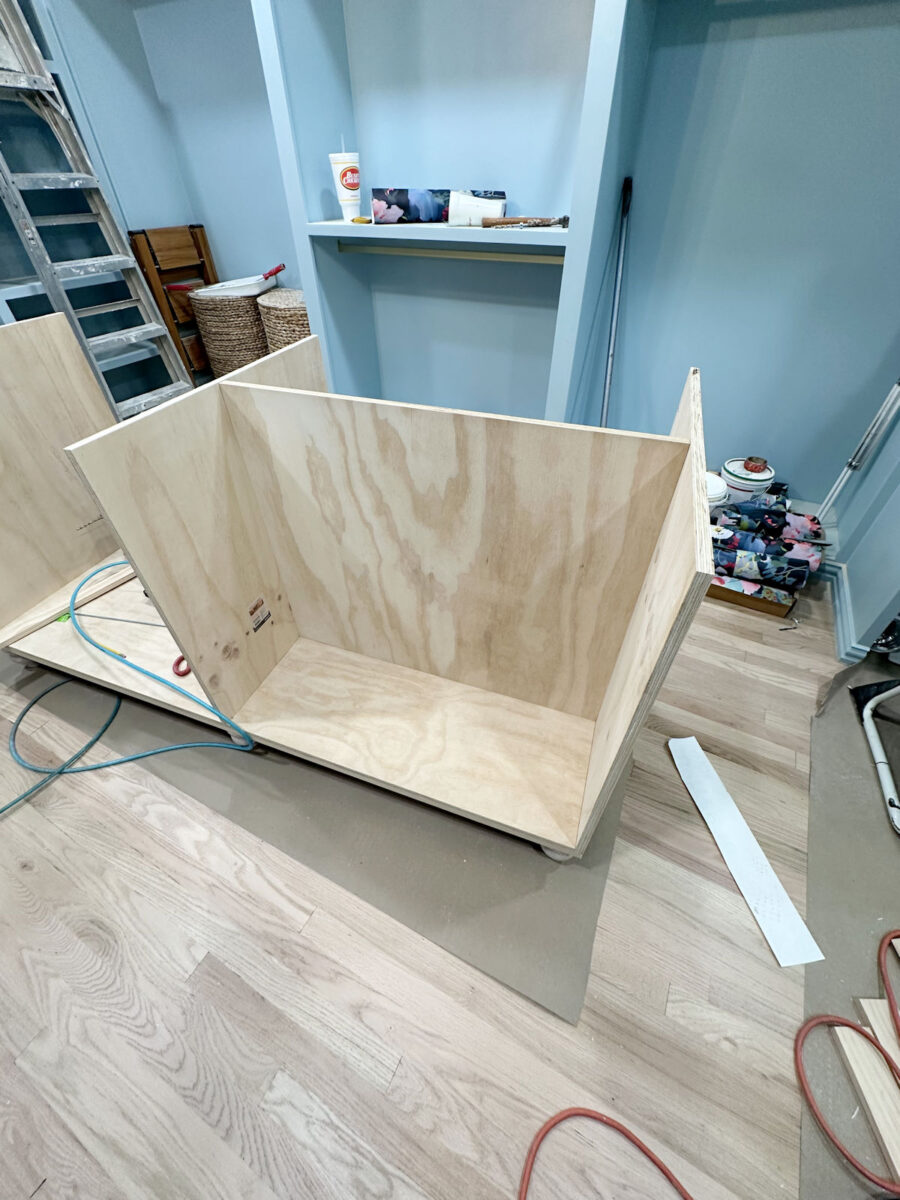
And here’s what that looked like with that piece in place.
Next, I needed to cover the edges of most of the plywood since these would show, and the edges of plywood aren’t very pretty.
I covered those edges using pre-glued iron-on wood veneer…
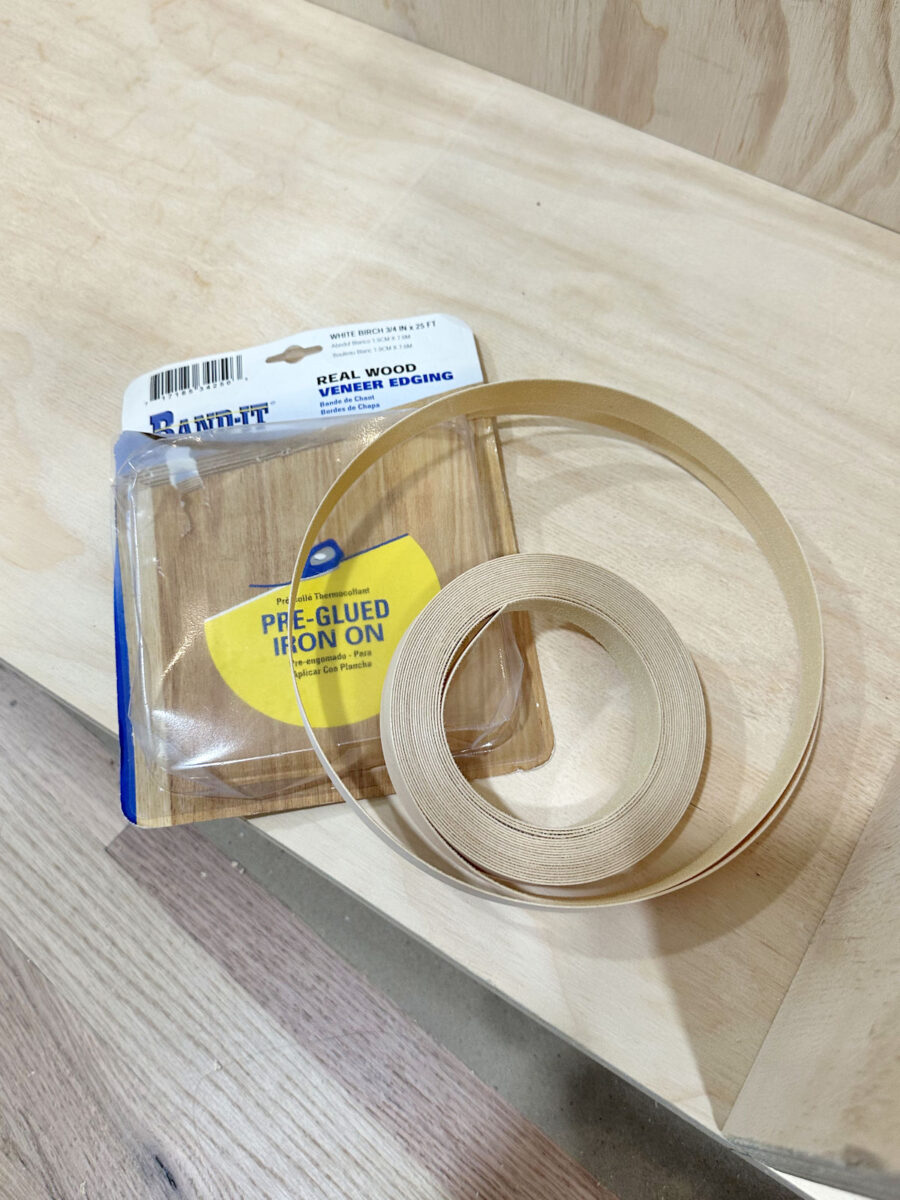
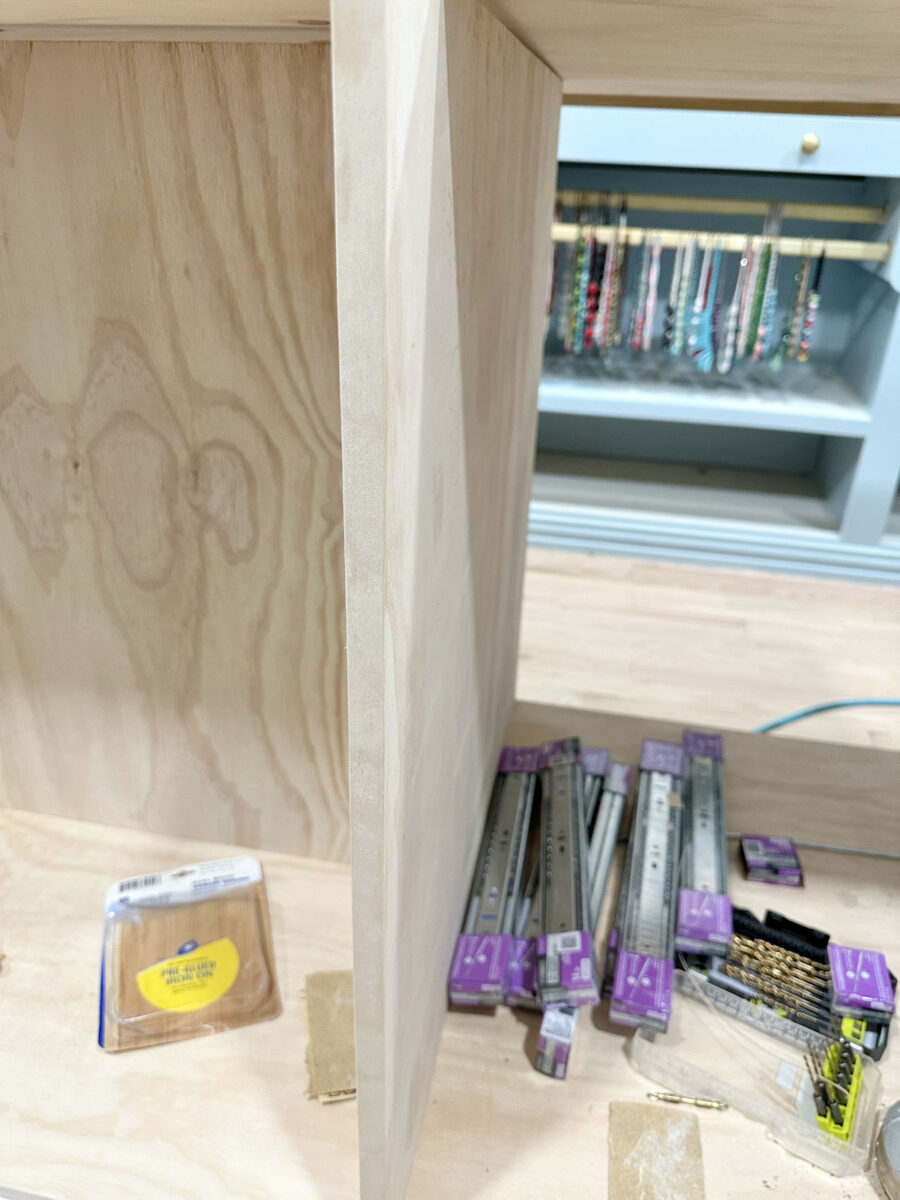
This edge banding goes on with an iron set to a high heat setting. The iron melts the glue, and when it cools, the banding is adhered to the edge of the plywood. The edge banding is always a little bit too wide, so I used a new, sharp blade in my utility knife to trim the excess, and then sanded the edges smooth using 120-grit sandpaper. And this is what the finished edges looked like…
I put the edge banding on all of the edges shown in pink below, and then repeated that process on the other side of the island.
If you’ll remember, the bottom edge of my island actually has a layer of plywood and then a frame of 1x3s. Here’s a reminder of what that looks like from the previous post. This is the view of the bottom of the island with it flipped over on its side. See that 1×3 frame attached to the bottom?
I’m showing you that to mention that I didn’t put edge banding on the edges of those 1x3s. I only put the edge banding on the edges of the plywood. Not only does solid lumber not need edge banding, but I was also going to cover the edges of that lumber with trim. So again, the edge banding only went on the edges of the plywood.
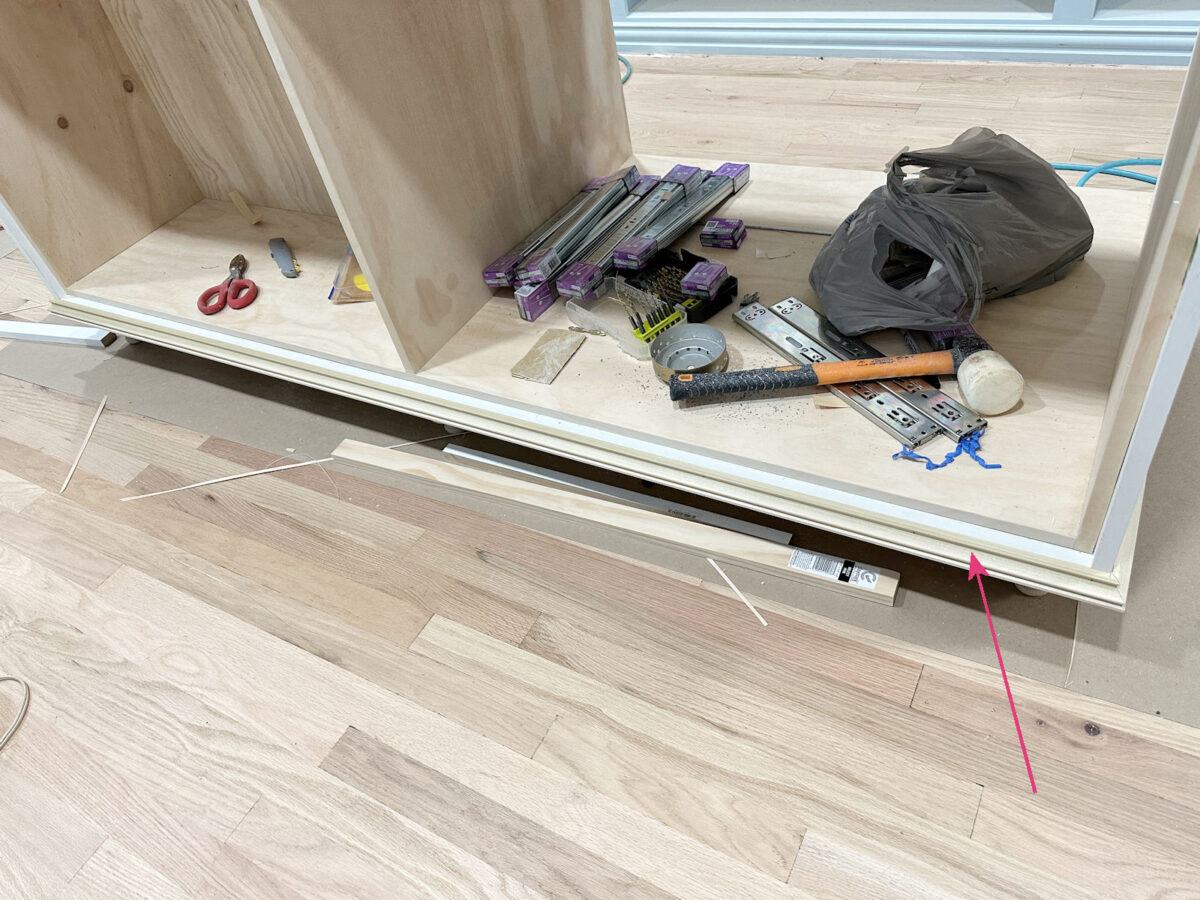
Before I could add trim, I needed to add some depth around the bottom, so I used my table saw and ripped some 1×3’s into strips that are 3/4″ x 3/4″, and then I attached that all the way around the bottom to the edge of that 1×3 frame.
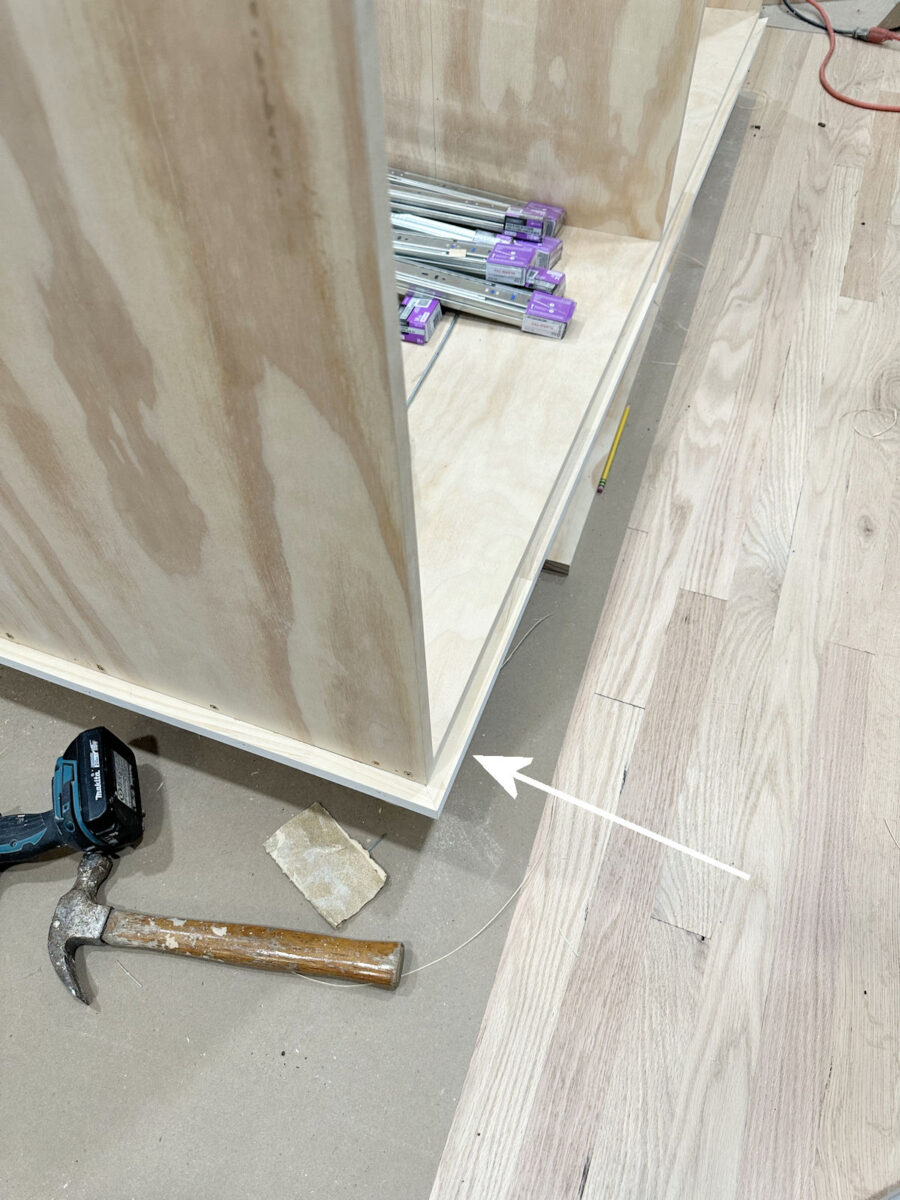
Here’s a better view of what that looked like. You can see the plywood with the edge banding on top, and then the 3/4″ strip below attached to the edge of that 1×3 frame around the bottom of the island. …
With that in place, I started trimming out the end of the island. I started by attached 1×2’s on the left and the right, but I extended those 3/4″ past the edge of each side. And then I attached the bottom horizontal piece of 1×2.
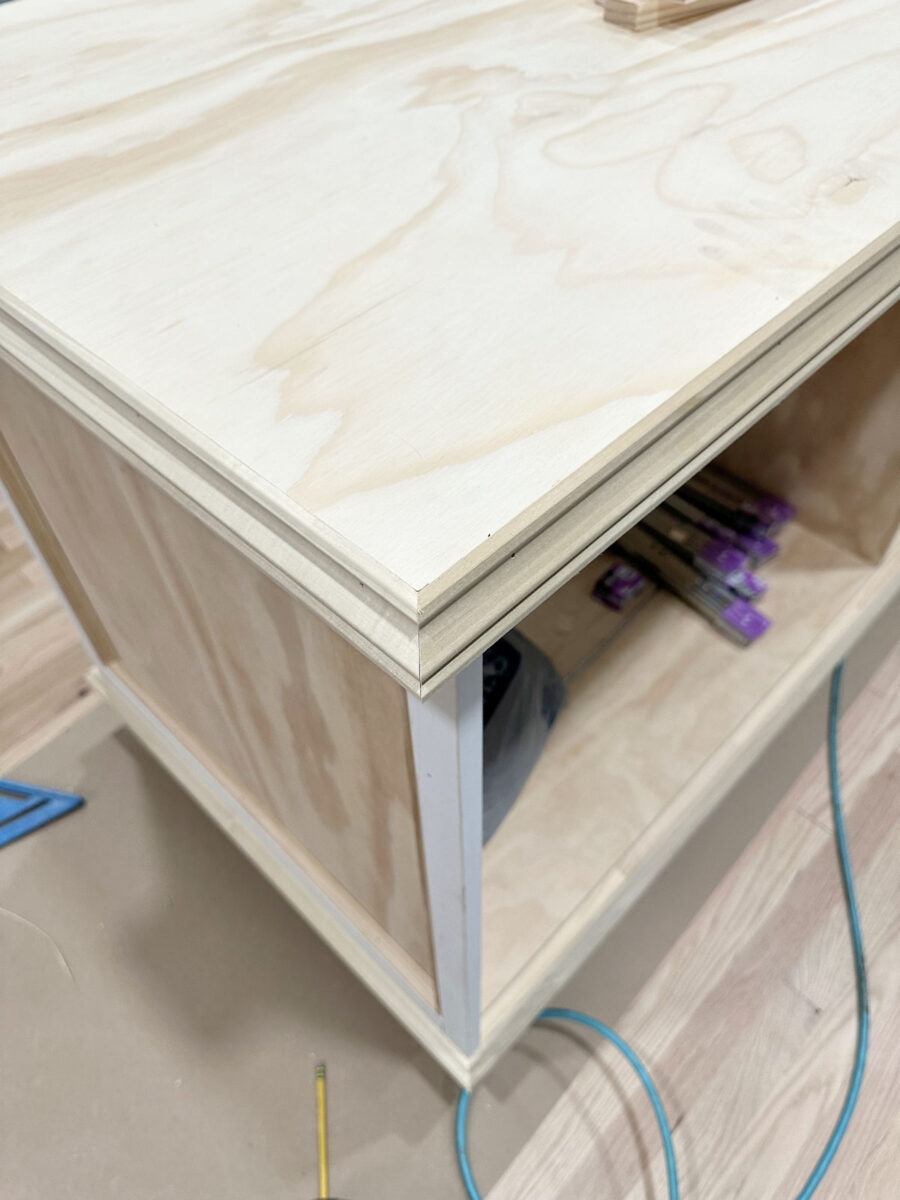
Before I could attach the top horizontal 1×2 to complete that frame, I attached the edge trim to the countertop (which I forgot to take a photo of) to see how far down that top frame piece needed to come. Since the edge trim of the countertop overhangs the edge of the island just a bit, that means that had I put that top horizontal side frame piece on right at the top of the plywood, the frame would have looked off just a bit because the edge trim on the countertop would have cut off the view of that piece. So I ended up dropping that top horizontal frame piece down about 1/2″ from the top of the side plywood piece so that the whole thing would be visible.
Here’s a view of the side frame pieces showing how it extends past the edge of the plywood 3/4″. The purpose of this, as well as that bottom horizontal piece attached at the bottom, is to create an inset for the drawer fronts.
Here’s what that looks like straight on…
Then I attached the same trim that I had used around the edge of the countertop to that bottom strip going around the bottom of the island.

And inside the 1×2 frame, I used base cap molding to finish off the end design.
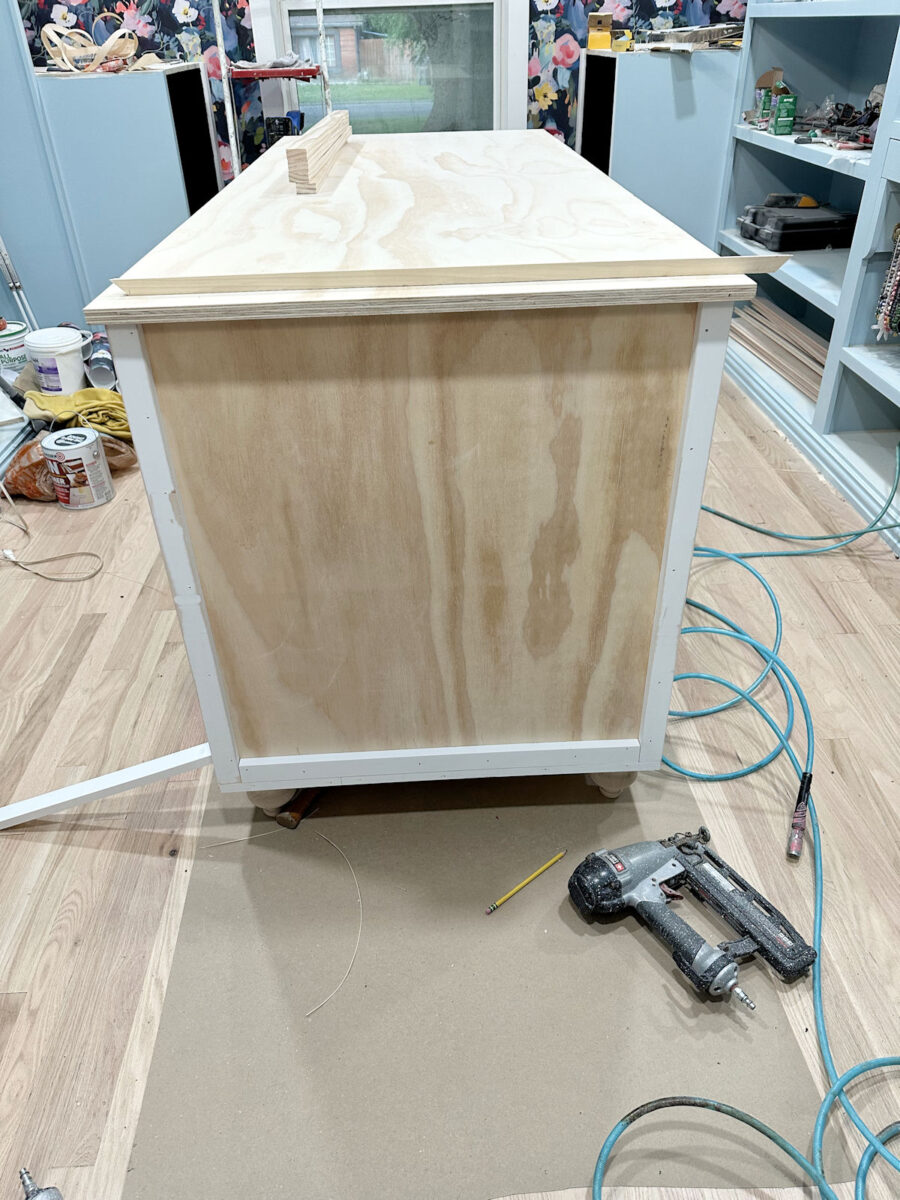
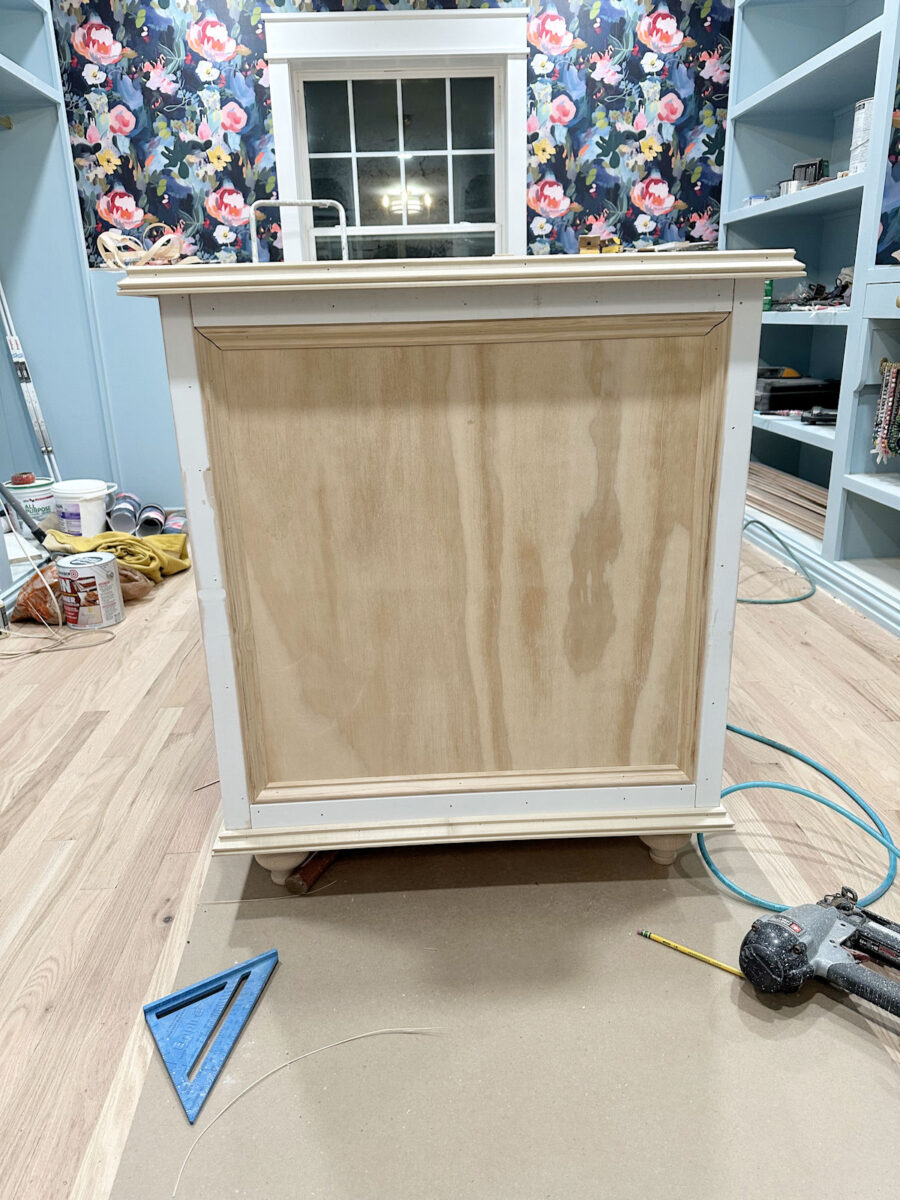
So this is what the end of the island, the view from the doorway, looks like.
And you can see that bottom trim continues all the way around, nailed to the front of that bottom piece that I nailed on, with both pieces being flush with each other on the top.
Here’s a view from the other side. So hopefully, you can imagine that the drawer fronts will sit inside the frame created with those pieces extending on the sides and the bottom.
And here’s a closer view of the trim that I attached around the edges of the countertop.
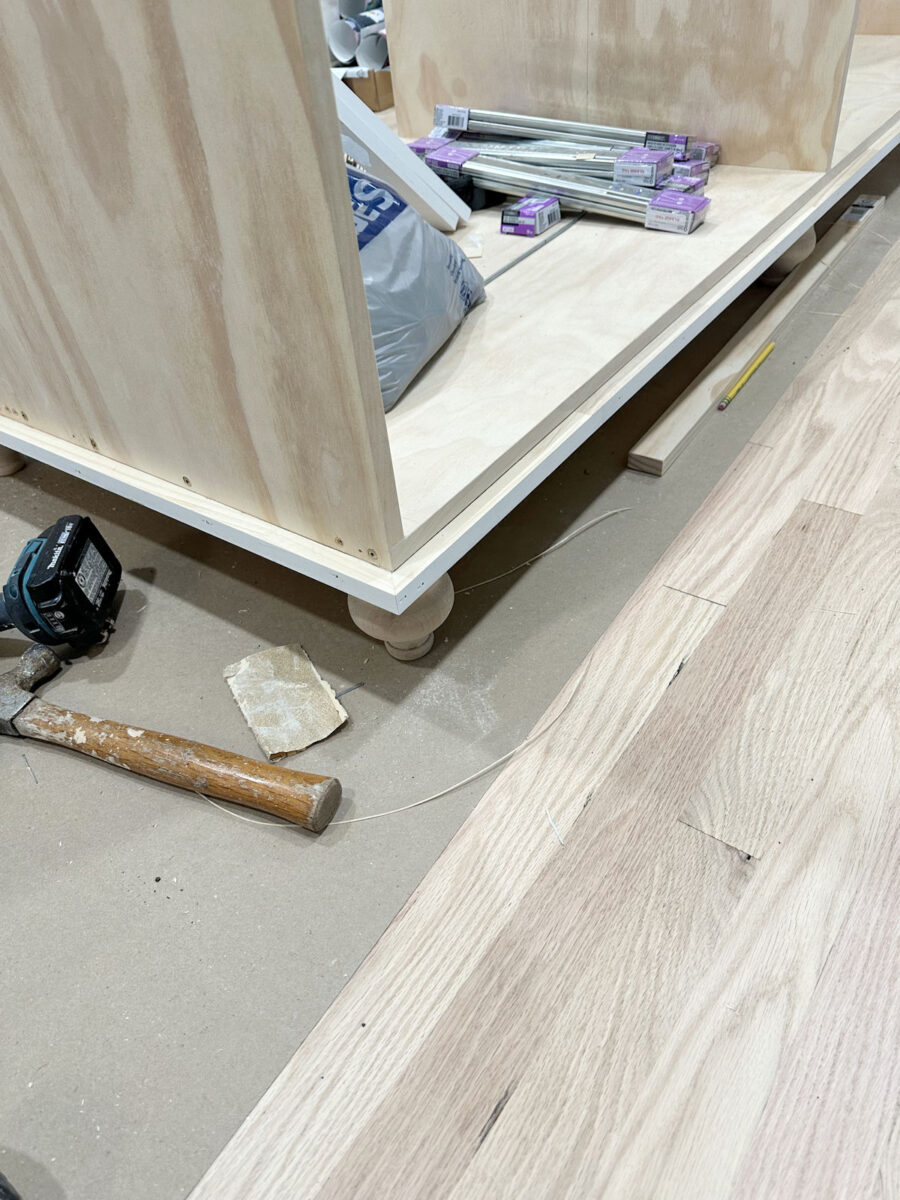
One problem that I noticed almost right away is that I miscalculated the placement of the feet. Now that I’ve added all of that trim around the bottom, the feet are inset too far so that they’re almost not even visible. So I’ll need to flip the island over and move the feet out. It’ll look much better and more balanced once I do that.
But that’s the progress! I’m pretty excited about how it’s shaping up. Hopefully I can make a lot of headway on the drawers, drawer fronts, and doors this weekend, and have an almost-finished closet island by Monday!
More About My Walk-In Closet/Laundry Room

see all walk-in
closet diy projects

read all walk-in
closet blog posts

Addicted 2 Decorating is where I share my DIY and decorating journey as I remodel and decorate the 1948 fixer upper that my husband, Matt, and I bought in 2013. Matt has M.S. and is unable to do physical work, so I do the majority of the work on the house by myself. You can learn more about me here.